The basic material is vegetable-tanned cattle leather which is 1,6 – 2 mm thick.
The first, maybe most boring part, is cutting the leather. So I´ll be quick here:
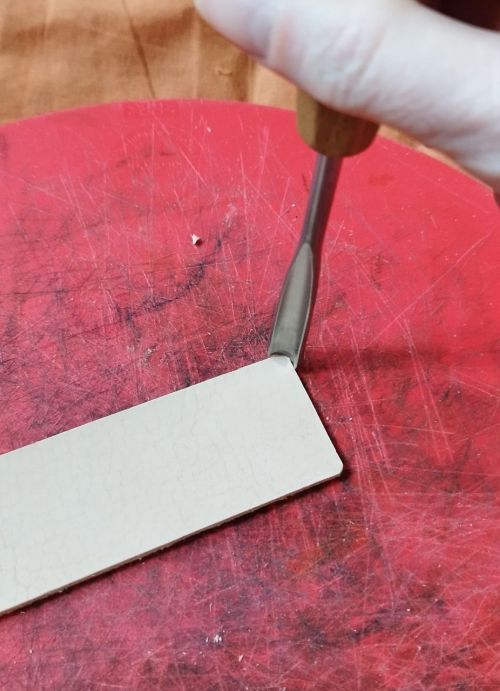
I cut stripes of leather with a knife and then cut the corners with a bench gouge.
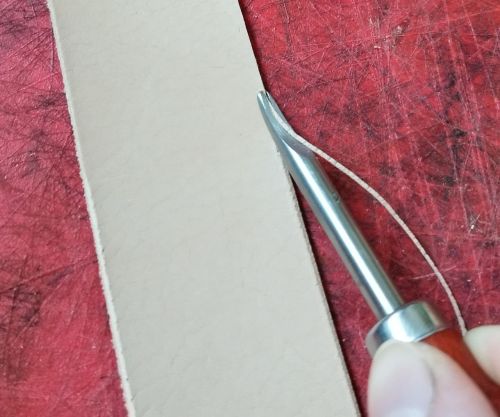
I continue with trimming the edges.
After that, my leather “canvas” is ready and I can start the the part I enjoy most – the creative process.
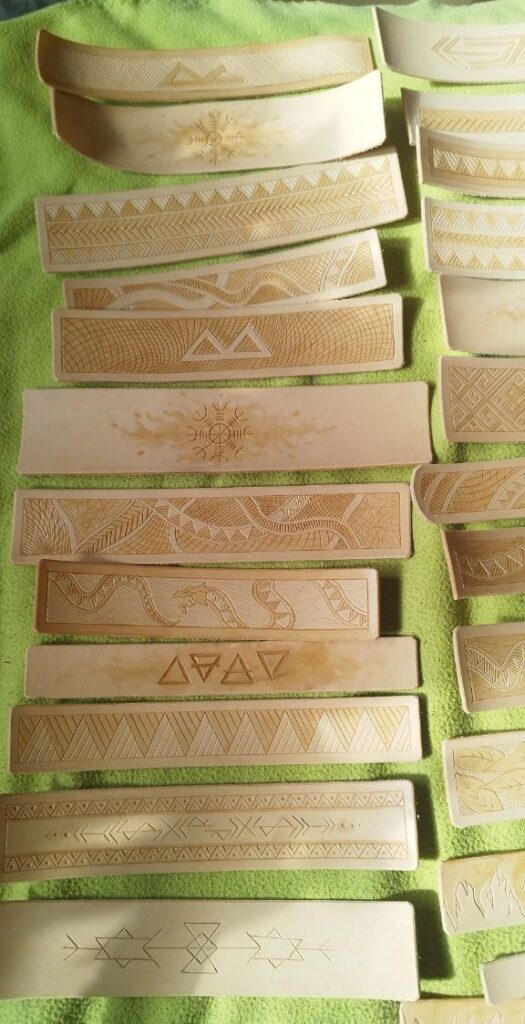
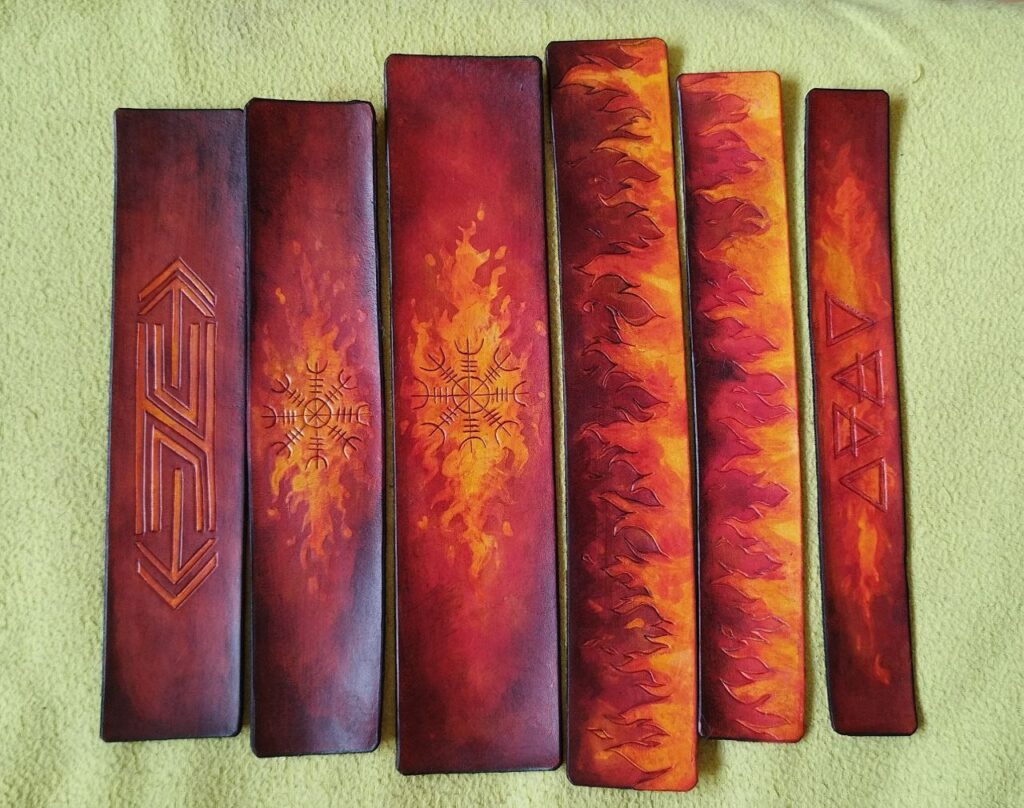
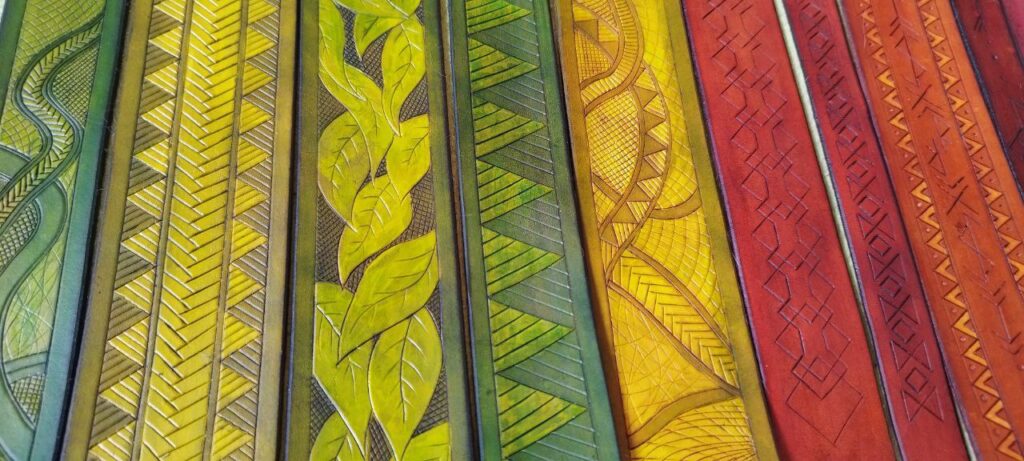
I cut the design into the leather. There can be anything what comes to my mind, really. Animals, leaves, alchemical symbols, runes and bindrunes, mythical creatures or geometrical stuff.
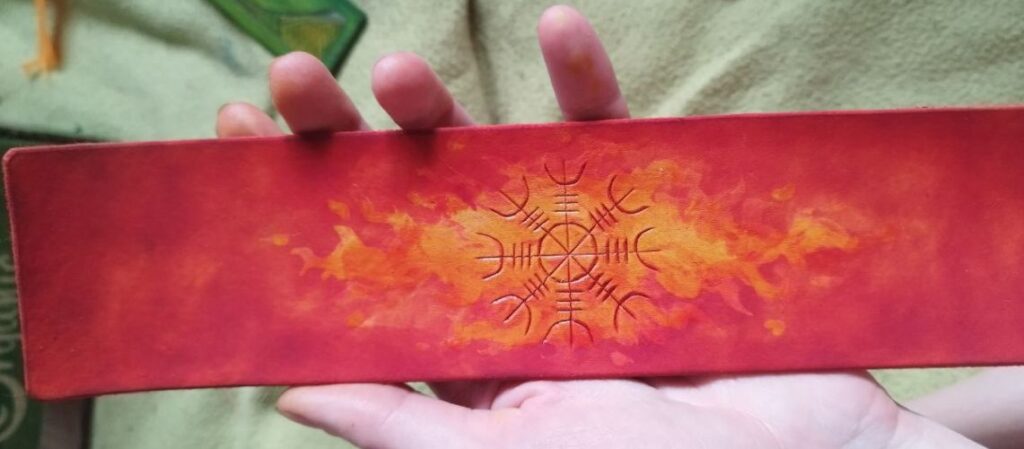
I paint with Resist the parts I want to remain lighter when coloring.
That´s the darker paint on the picture.
This is a bracelet looks like, freshly painted with light red. The place where I applied Resist remains orange – like proper flames 🙂 However, we´re not finished.
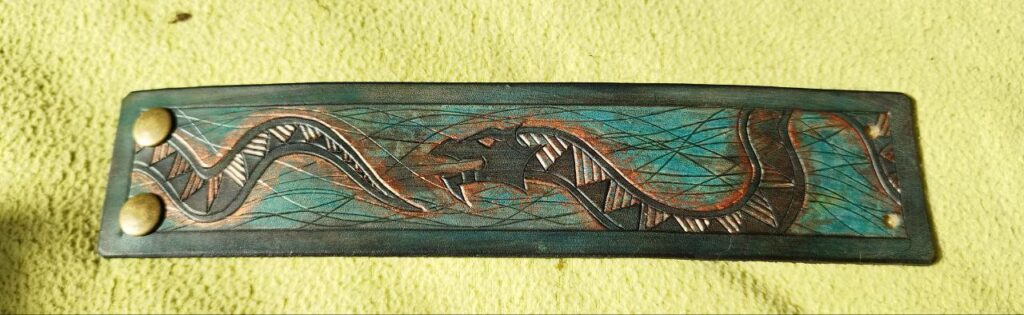
Antiq and some other finishes are applied to the leather, to make the design stand out and to darken the edges. Last, a product with beeswax is used, to protect the leather and to prevent cracking when the bracelt is bent.
Here I applied coppery glow.
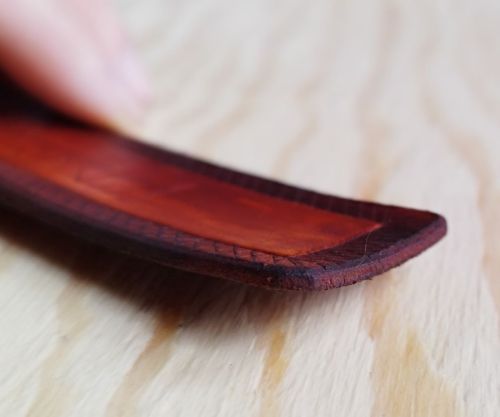
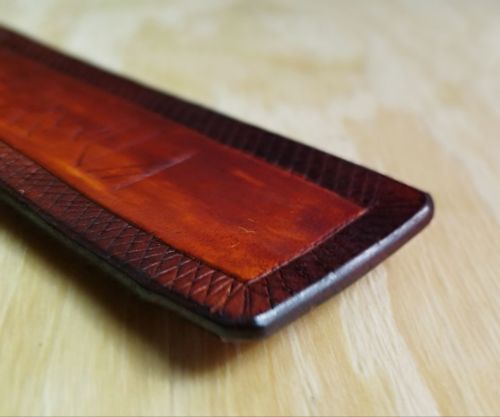
Last two steps are to attach glove snaps and burnish the edges.
Burnishing the edges is important to protect the leather from moisture. And it also looks nicer. Compare the two pictures below.
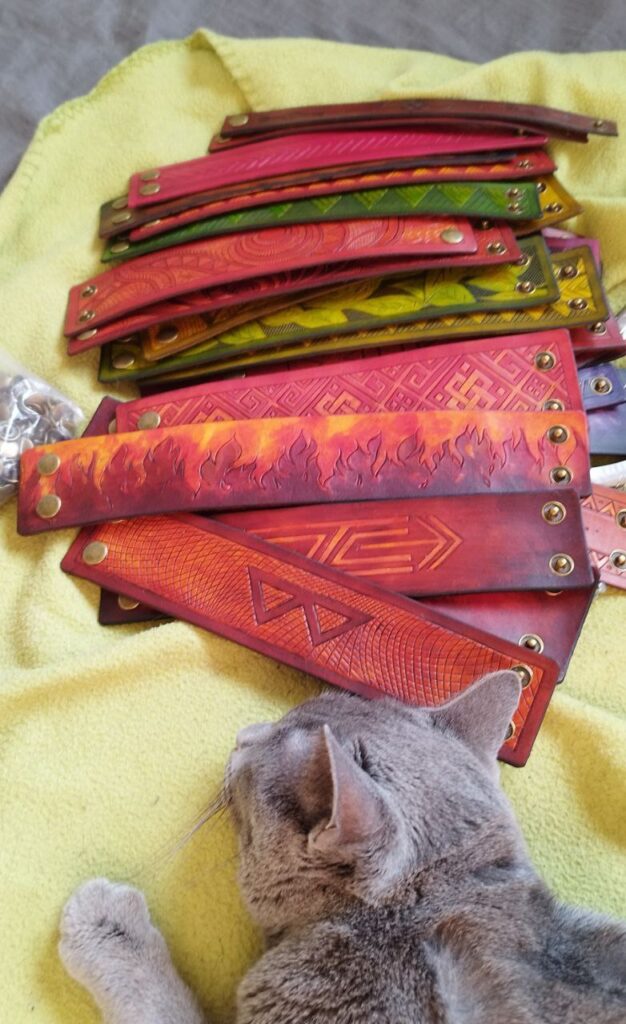
Now enjoy the look of the fisnished bracelets. Like our cat Banshee did. Oh wait, she fell asleep on them! Not so interesting after all.
Don´t forget checking our Leather Bracelet page to get one for yourself!